Immerse yourself in the vibrant taste of spring with our Dairy-Free Shamrock Shake, an innovative twist on the classic treat that promises guilt-free indulgence. This delightful concoction is crafted with the richness of ripe bananas, the silky-smooth touch of avocado, and the luscious creaminess of plant-based milk, harmoniously blended to cater to both your palette and well-being.
Made with all-natural, plant-based ingredients, our Dairy-Free Shamrock Shake is not only good for you but also incredibly delicious. But here’s the real magic: a drop or two of high-quality essential oil. Our secret ingredient? Peppermint essential oil, which adds that refreshing minty flavor without artificial colors or flavors.
Not only does this version skip the dairy, but it also leaves out refined sugars. Instead, we opt for natural sweeteners from bananas or honey, allowing you to enjoy the sweet taste without the guilt. And let’s not forget the vibrant green color, achieved through natural, nutrient-rich greens like spinach or kale. These additions not only contribute to the signature hue but also pack a healthy punch, providing valuable vitamins and minerals.
Whether you're looking for a festive way to celebrate the season or simply searching for a healthy alternative to satisfy your sweet tooth, our Dairy-Free Shamrock Shake With a Healthy Twist is sure to become a new favorite. So go ahead, say goodbye to the old shake and welcome in the new with open arms. Your taste buds (and your body) will thank you!
dairy-free shamrock shake
Ingredients:
- 1 Cup Gluten Free Oat Milk
- 1 Avocado
- 1 Cup Frozen Bananas Chopped
- 1/8 Cup Kale Powder
- Honey *optional
- Enjoy Life Chocolate Chips *optional
- 1-2 Drops of Peppermint Vitality essential oil
Instructions:
- Add oat milk, frozen bananas, and avocado to Nutribullet and blend until smooth.
- Then add honey to taste if you like.
- Add 1 drop of Peppermint Vitality essential oil for an all natural flavor burst of mint (add 2 drops for a real robust mint flavor that opens up your sinuses like I do). Garnish with chocolate chips.
Notes from the cook:
- Use any milk you like.
- Oat Milk lasts about 4 days in the refrigerator.
- Fresh Mint washed and patted dry can be substituted for the Peppermint Vitality oil.
When it comes to essential oils, not all are created equally, particularly in terms of purity and safety for various uses, including cooking. Click HERE to see which oils I trust for my family.
Leave a comment below:
Your comments brighten my day and your feedback is extremely helpful!
Affiliate Disclaimer:
By clicking on our links, we might make a small commission. Thanks for the support. Green Thumb Cooking is a participant in the Amazon Services LLC Associates Program, an affiliate advertising program designed to provide a means for sites to earn advertising fees by advertising and linking to Amazon.com
Gluten Free Oat Flour
Gluten free ingredients can hit your budget hard, but this hack will save you a ton of money. Did I mention making this flour is so simple to do? The best part, you can make gluten free oat flour in one minute or less.
Ingredients
- 5 Cups of Gluten Free Oats
Instructions
- Add gluten free oats to the Nutribullet and blend about 30 to 45 seconds.
- That is it, easy peasy! Know you have gluten free oat flour ready to use in gluten free pancakes, almond butter cups etc.
- Store your flour in the pantry or the freezer in an air tight container.
Notes from the Cook
I like to make 5 cup batches of oat flour but you can make any amount that suits you.
Quick Gluten Free Oat Milk
You will never need to buy oat milk in the store again! Did you know
you can make it easily with water and oats? When you make your
own you control the quality of ingredients and you know exactly what
is in the milk. No added preservatives, fillers, etc. This is another way
to save money on your grocery bill!
Ingredients
- 3/4 Cup Gluten Free Oats
- 2 Cups of Water
Instructions
- Add gluten free oats and water to the Nutribullet.
- Blend about 45 seconds. Oats should be ground into bits.
- Place a fine mesh strainer over bowl and pour milk and oats through
- Pour milk into a jar with a lid and store in the refrigerator.
- Reserve the oat pulp in a separate container store in refrigerator.
Notes from the Cook
- Use milk within 3 days.
- The oat pulp can be used to make a soft cracker/wrap.
- Use the oat milk to replace milk in any recipe or in cereal, etc.
Affiliate Disclaimer:
By clicking on our links, we might make a small commission. Thanks for the support. Green Thumb Cooking is a participant in the Amazon Services LLC Associates Program, an affiliate advertising program designed to provide a means for sites to earn advertising fees by advertising and linking to Amazon.com
The Ultimate Veggie Burger
Do you want a veggie burger with a hearty texture, packed with wholesome goodness that won't crumble under pressure? Then look no further. This Gluten and Dairy Free burger is sure to satisfy!
Don't let the kale, mushrooms or quinoa scare you away. They are hidden well and packed with nutrients you won't even know they are there. They bring great texture to this burger. Enjoy!
Ingredients
- 1 1/2 Cups Celery Chopped
- 2 Large Carrots Peeled
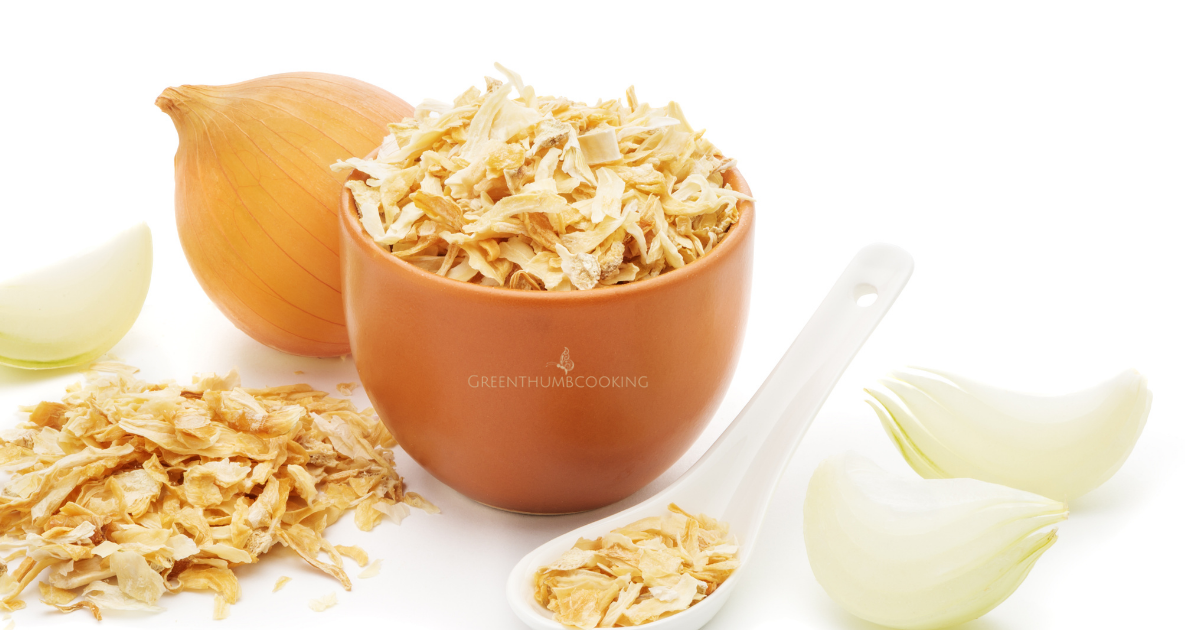
- 1/2 of an Onion
- 4 Whole Cloves of Garlic
- 1 Can Black Beans Rinsed and Drained
- 1 Can Pinto Beans Rinsed and Drained
- 3/4 Cup Cooked Quinoa
- 1 1/2 Cup frozen Chopped Kale
- 1 1/4 Cup Dehydrated Oyster Mushrooms or Shitake
- 1/8-1/4 tsp Cayenne Pepper depending how much heat you like
- 2 TBL Italian Seasoning
- 2 TBL Ground Flax
- 3/4 tsp Salt
- 1/4 tsp Ground Black Pepper
- 1 1/2 TBL Cumin
- 2 Egg
- 1/2 Cup Cashews
- 1/4 Cup Gluten Free Oats
Directions
- Preheat oven to 400'
- In food processor slice carrots and onion.
- On a Silpat Mat lined baking sheet add celery, beans, carrots, onions and garlic.
- Roast 7 minutes turn veggies roast 7 more minutes turn.
- Add quinoa and kale and roast 2 minutes longer.
- Let cool 10 minutes.
- In Food Processor with chop attachment add dried mushrooms, cashews and pulse a few times. Pour over roasted veggies.
- Add spices and flax to roasted veggies on the baking sheet.
- Stir to combine.
- Divide burger mix into 2 batches.
- Add 1 half the burger mix to the food processor approx. 3 1/4 cups.
- Pulse 4-5 times (you want chunky not smooth).
- Add 1 egg. Pulse 2 times. Make into 1 inch thick patties.
- Brush with olive oil on each side.
- Pan fry 6 minutes on each side until browned with internal temp of 165'. Flip carefully.
- Repeat with 2nd batch.
- Serve on lettuce or your favorite gluten free bun and toppings.
Reheat in frying pan. Avoid microwaving or they will be mushy.
Makes 6-7 burgers.
Notes from the cook
- Almonds or walnuts can replace cashews.
- If using fresh mushrooms wipe them off with a damp paper towel to remove dirt.
- Parchment paper can be used instead of Silpat Mat.
- It is important to roast veggies and beans allowing excess moisture to escape. No one wants a soggy burger.
- Important make sure burgers are 1 inch thick to ensure they hold together.
- Place a burger mold (or jar lid) in a sandwich bag, fill with burger and pop into frying pan easily.
Affiliate Disclaimer:
By clicking on our links, we might make a small commission. Thanks for the support. Green Thumb Cooking is a participant in the Amazon Services LLC Associates Program, an affiliate advertising program designed to provide a means for sites to earn advertising fees by advertising and linking to Amazon.com
Our Maple Spiced Nut Bars - are a delightful gluten-free and dairy-free snack that will surely satisfy your cravings for a perfect balance of crunchy, salty, sweet, and a touch of autumn flavors. Indulge in the goodness of carefully selected nuts harmonized with the warm essence of maple and a hint of fall spices.
Read more...- Honey Muscadine Grape JamMuscadine jam is delicious over toast or added to your favorite barbecue sauce to bring out sweetness and depth. Create an easy filling for crepes.Muscadines are prolific growers despite the hot, dry summers in North Carolina. As a natural gardener I love that they thrive in this climate and rarely have pest or disease issues that require intervention.Don't confuse Muscadines with table grapes the skin is tougher, the seeds are bigger and the fruit is bigger too! I can fill a gallon bucket in no time.Ingredients
- 4 Cups of Muscadine Grapes
- 2/3 Cup of Honey
- 1 TBL Apple Cider Vinegar
- Directions
- Wash Fruit.
- Separate the grape skins from the pulp by squeezing the grapes between your fingers or using the plate method in cook’s notes.
- Put the skins in the food processor bowl and pulse until they are chopped as finely as you like.
- Transfer Muscadine skins to a pot and add 1/4 cup of water.
- Bring to a simmer and cook until the skins have softened about 10 minutes.
- In another saucepan add the grape pulp and bring to a boil.
- Reduce heat and simmer until the grapes release the seeds about 10-15 minutes.
- Pour the grape pulp through a fine mesh sieve into a bowl.
- Force out as much pulp as you can and discard the seeds.
- Add the grape pulp to the pot with the grape skins and stir to combine.
- Add the honey and apple cider vinegar.
- Place the pan on the stove and bring to a boil.
- Cook, stirring often until the jam thickens about 10 to 12 minutes.
- Pour into jelly jars and cool.
- Store in the refrigerator or freeze.
Never miss a recipe!
Cook’s Notes
- 1 TBL of Lemon Juice can be substituted for 1 TBL Apple Cider Vinegar
- Plate method: Put Muscadines between two plates then rock back and forth until the muscadines easily easily pop and then squeeze out the pulp.
- I make small batches of jam and store in the refrigerator.
- Get my gluten free (GF) and Dairy Free (DF) crepe recipe HERE
Affiliate Disclaimer:
By clicking on our links, we might make a small commission. Thanks for the support. Green Thumb Cooking is a participant in the Amazon Services LLC Associates Program, an affiliate advertising program designed to provide a means for sites to earn advertising fees by advertising and linking to Amazon.com